< Back to Manage Trainings and Data Help Page
The following will be covered in this comprehensive guide on adding and managing trainings on the OCH LMS:
- Understanding what a course shell is
- Setting up a course shell
- Managing content that appears on the front-end of a course shell (FAQs, learning objectives, description of course, documents, training images, etc.)
- Visibility options for courses (making a course private, password protected, etc.)
- Assigning the course to a catalog of training initiative
- Course contact
- Setting registration parameters
- Setting and managing dates for in-person/webinar trainings
- Setting capacities for trainings
- Adding and detailing credit information
- Outlining structural differences between online and in-person/webinar trainings
- Detailing of instructor and content provider of training
- Email Tool that allows you to communicate with those registered
- Assigning of OCH LMS training certificate of completion
- Other user-experience preference options and settings that make the course shell informative and well-designed
___________________________________________________________________________________
To add a training – whether it be a webinar, in-person training with multiple sessions, or an online training – you first need to add the course shell. The course shell is where the training details and settings are housed. If pages to a book are the lesson content, the course shell is the book cover; details about the training are setup when creating the course’s shell.
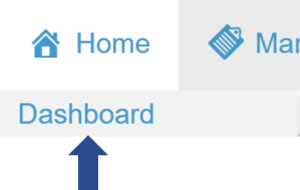
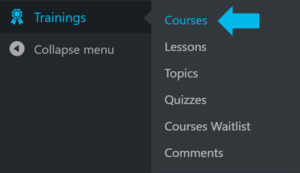
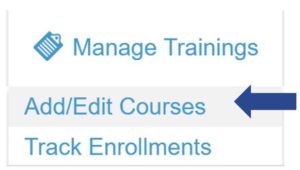
To add a course shell, visit the OCH Admin backend dashboard in one of two ways: the first is by hovering over the “Home” icon and selecting “Dashboard,” or you can hover over “Manage Trainings” and select “Add/Edit Courses.”
Option 1:
Step 1) Go to the OCH LMS
Step 2) Hover over the “Home” icon and select “Dashboard”
Step 3) Hover over the “Trainings” tool and select “Courses”
Option 2:
Step 1) Go to the OCH LMS
Step 2) Hover over the “Manage Trainings” icon and select “Add/Edit Course”
Step 3) Hover over the “Trainings” tool and select “Courses”

Course Shell Settings
Once you are in the courses tool, you can add or edit trainings by clicking “Add New,” or hovering over an existing training and selecting “Edit.” When creating a new course, you will see several different options. The most common sections are highlighted in the steps below:
Step 1) Give the course a title and if you’d like the course to show up on a specific URL, edit the permalink below the title. Otherwise, the permalink will automatically pull from the course title.(note: the permalink will not show until the quiz is published).
Step 2) Write a description for the course. This can be done by typing in the visual or text tab of the rich text editor. You will note – on the right – there is a ‘Publish’ button. Once you have built the course shell, you need to press this for it to save.
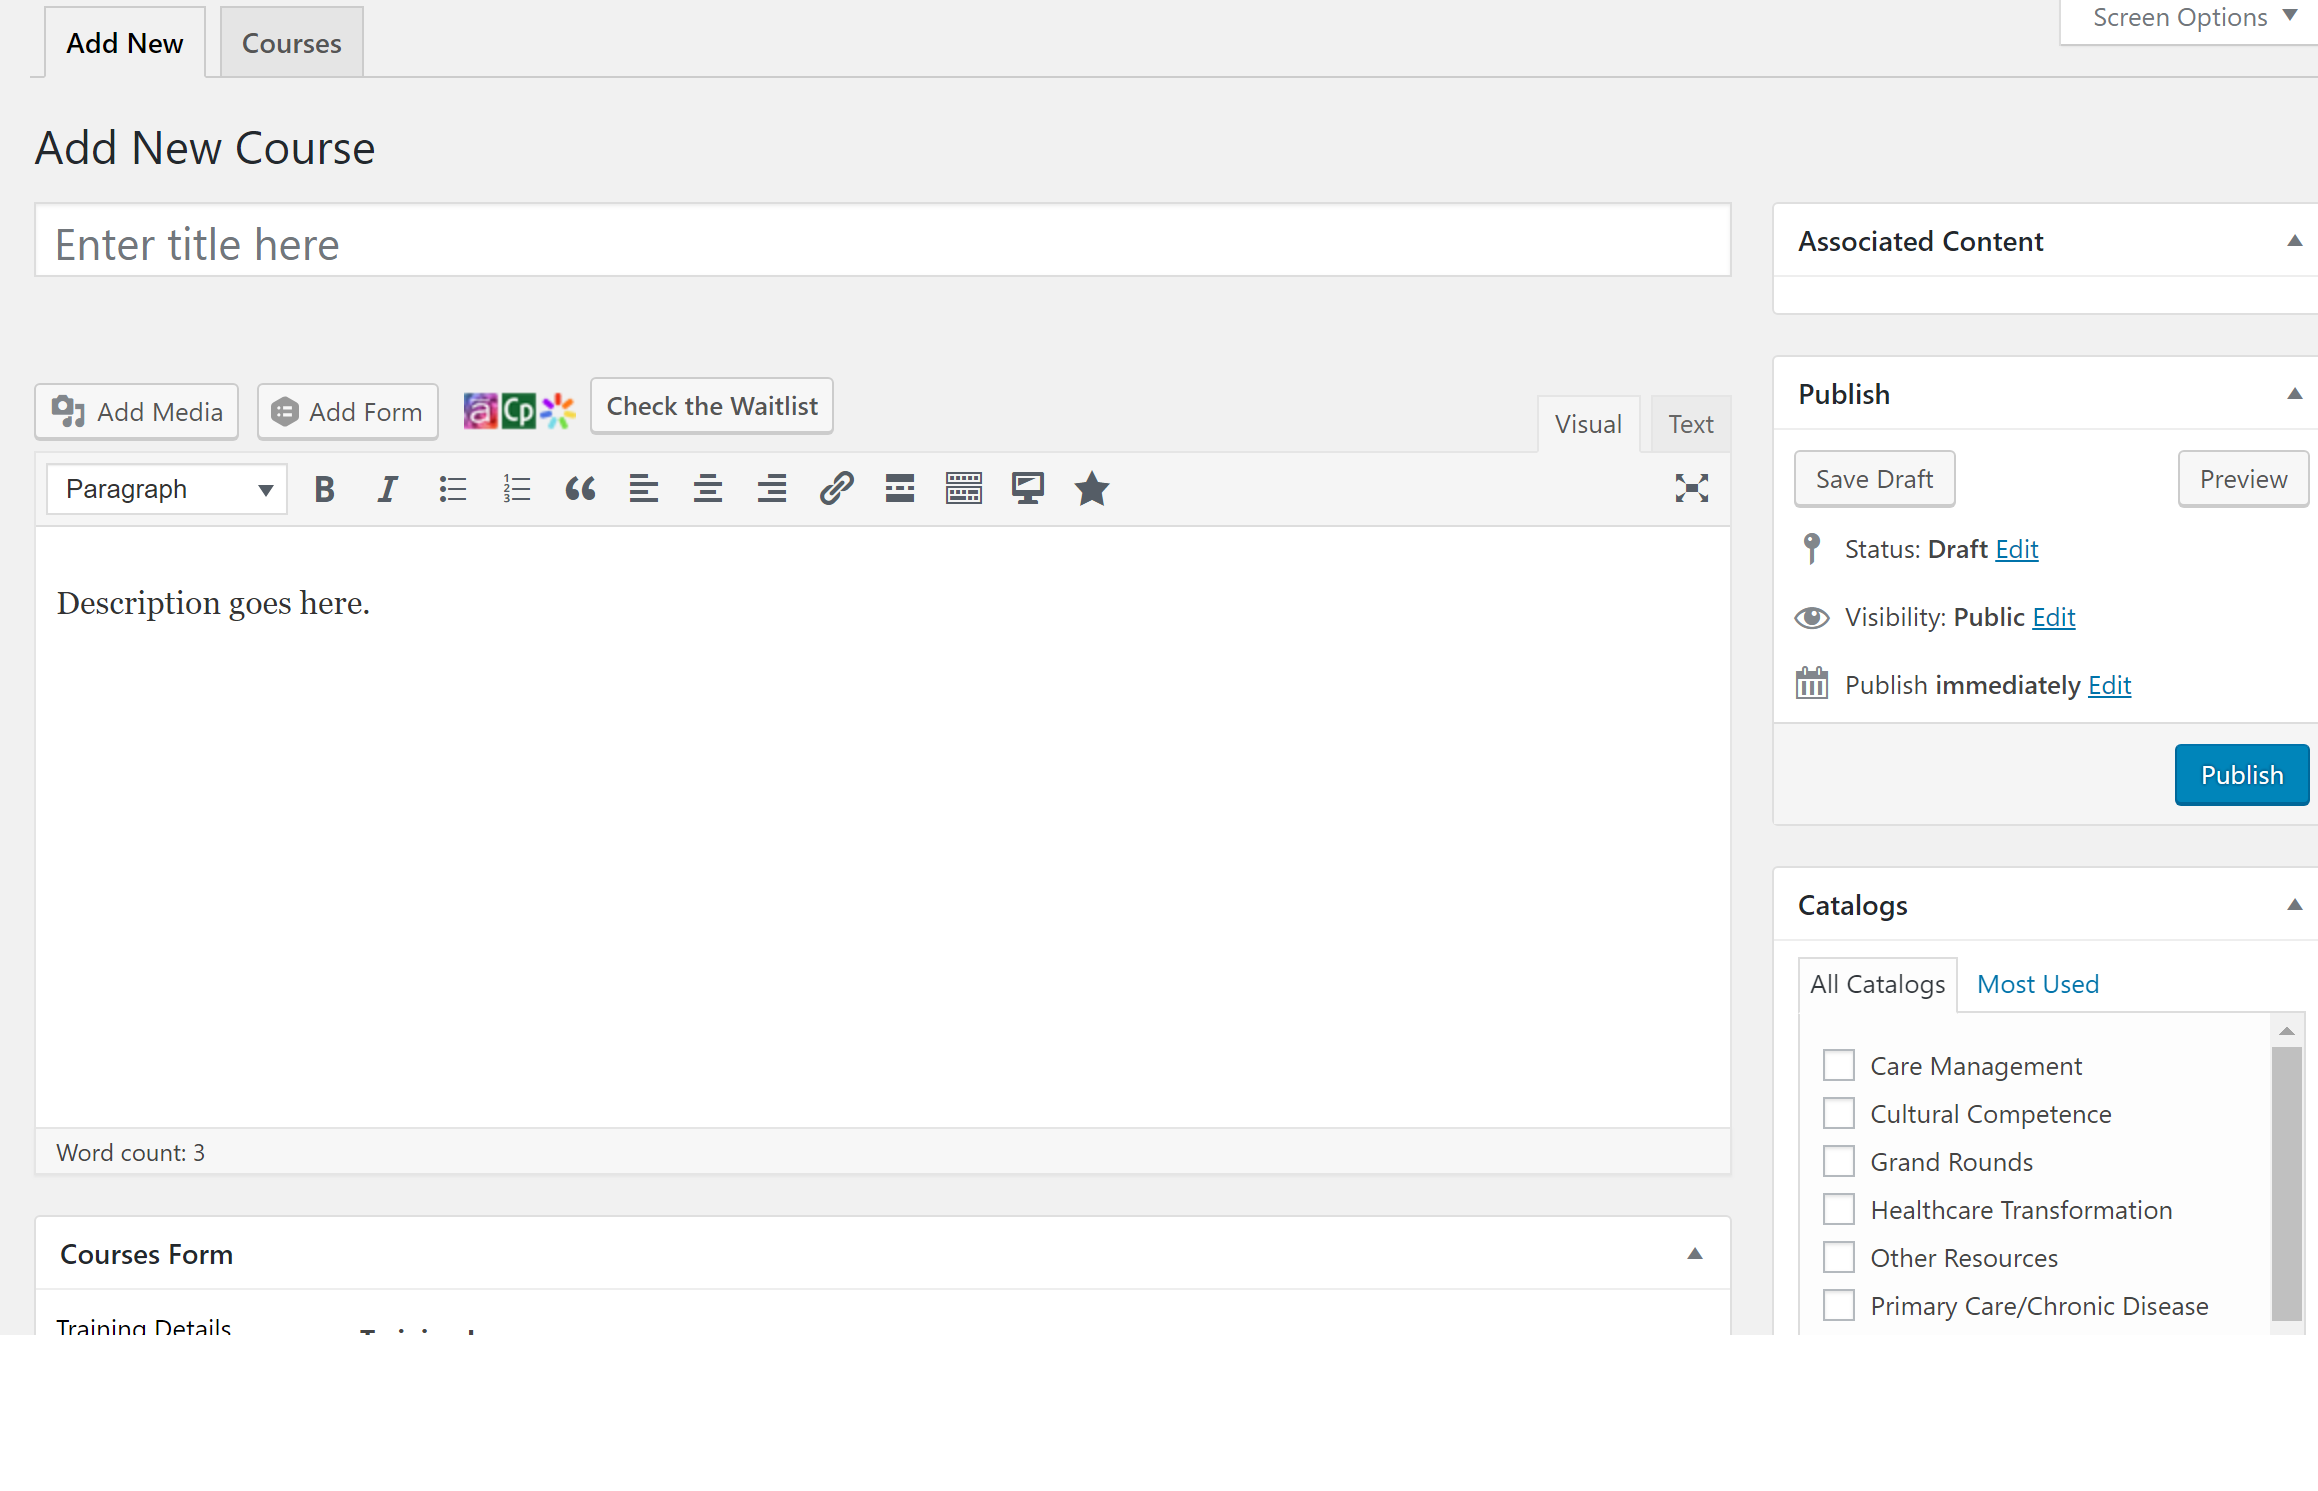
Visibility Settings (“Publish” area top-right of page) – it is important to note this area of the Add/Edit course page template. There are a few keys features and settings located here you may use:
- Publish (blue button): the most important button on the Add/Edit course page is this button. Once you have created your course shell, you need to press Publish to save it. If you are returning to an existing course shell to complete it or make changes, this button will read Update instead. This is comparable to saving a word document when you are finished.
- Save Draft – after you have created the course shell by going through the steps below, you can save your shell as a draft. You would save a course shell as a draft in the event that 1) you are not finished setting up the course shell and need to come back later, or 2) you need to keep the course unlisted on the front-end.
- Status
- Draft: If the status is Draft, you have saved it as such (see above). Drafts are not visible on the front-end
- Pending Review: If the status is Pending Review it signifies to other administrators that the course is set up but it needs review by someone else on your team before it can be moved to Live. This is simply a demarcation and all it functions to do is hide it from the front-end
- Visibility
- Public: if published and set to Public, the course shell is listed on the front-end
- Password protected: when password protected, the course is listed on the front-end listings but clicking on it will bring the employee to a password page; without the password, they cannot access the course page. If you are needing to password protect your course, use the Access Code feature instead (see Step 5 – Registration below)
- Private: when set to Private the course shell is effectively unlisted on the front-end. It is designated as Private on the backend to other administrators. If you want to make your course private, however, you are advised to use the “Private Course” option below (see Step 4 below).
- Publish options
- Immediately: Once you press Publish (blue), the course shell becomes published
- On a set date: If you would like to make the course shell appear on a certain date in the future, you can set the month, day, year, and time you need the course shell to become publicly listed.
- Preview
- When setting up your course shell, or after you have made changes to an existing course shell, to preview what those changes look like on the front-end before publishing and effectively “saving” the changes, press this button. It will open up a new tab with the course shell. Be careful – the changes are not currently saved and the URL is not valid (so don’t send a preview URL to anyone). After previewing, you can close your preview tab and continue making changes or save them. Be sure you Publish or Update to save any changes.
Step 3) Course Contact is an important field to understand: whatever email is listed for this field will receive all communication from anyone who completes the form on the front-end of a course Contact tab. This tool, for employees, is designed to quickly get them in touch with a training coordinator for any questions related to the training. By default, OneCity Health’s Workforce Team’s email is listed and this should not change unless approved by Carlos Martinez or Jennifer Melendez.

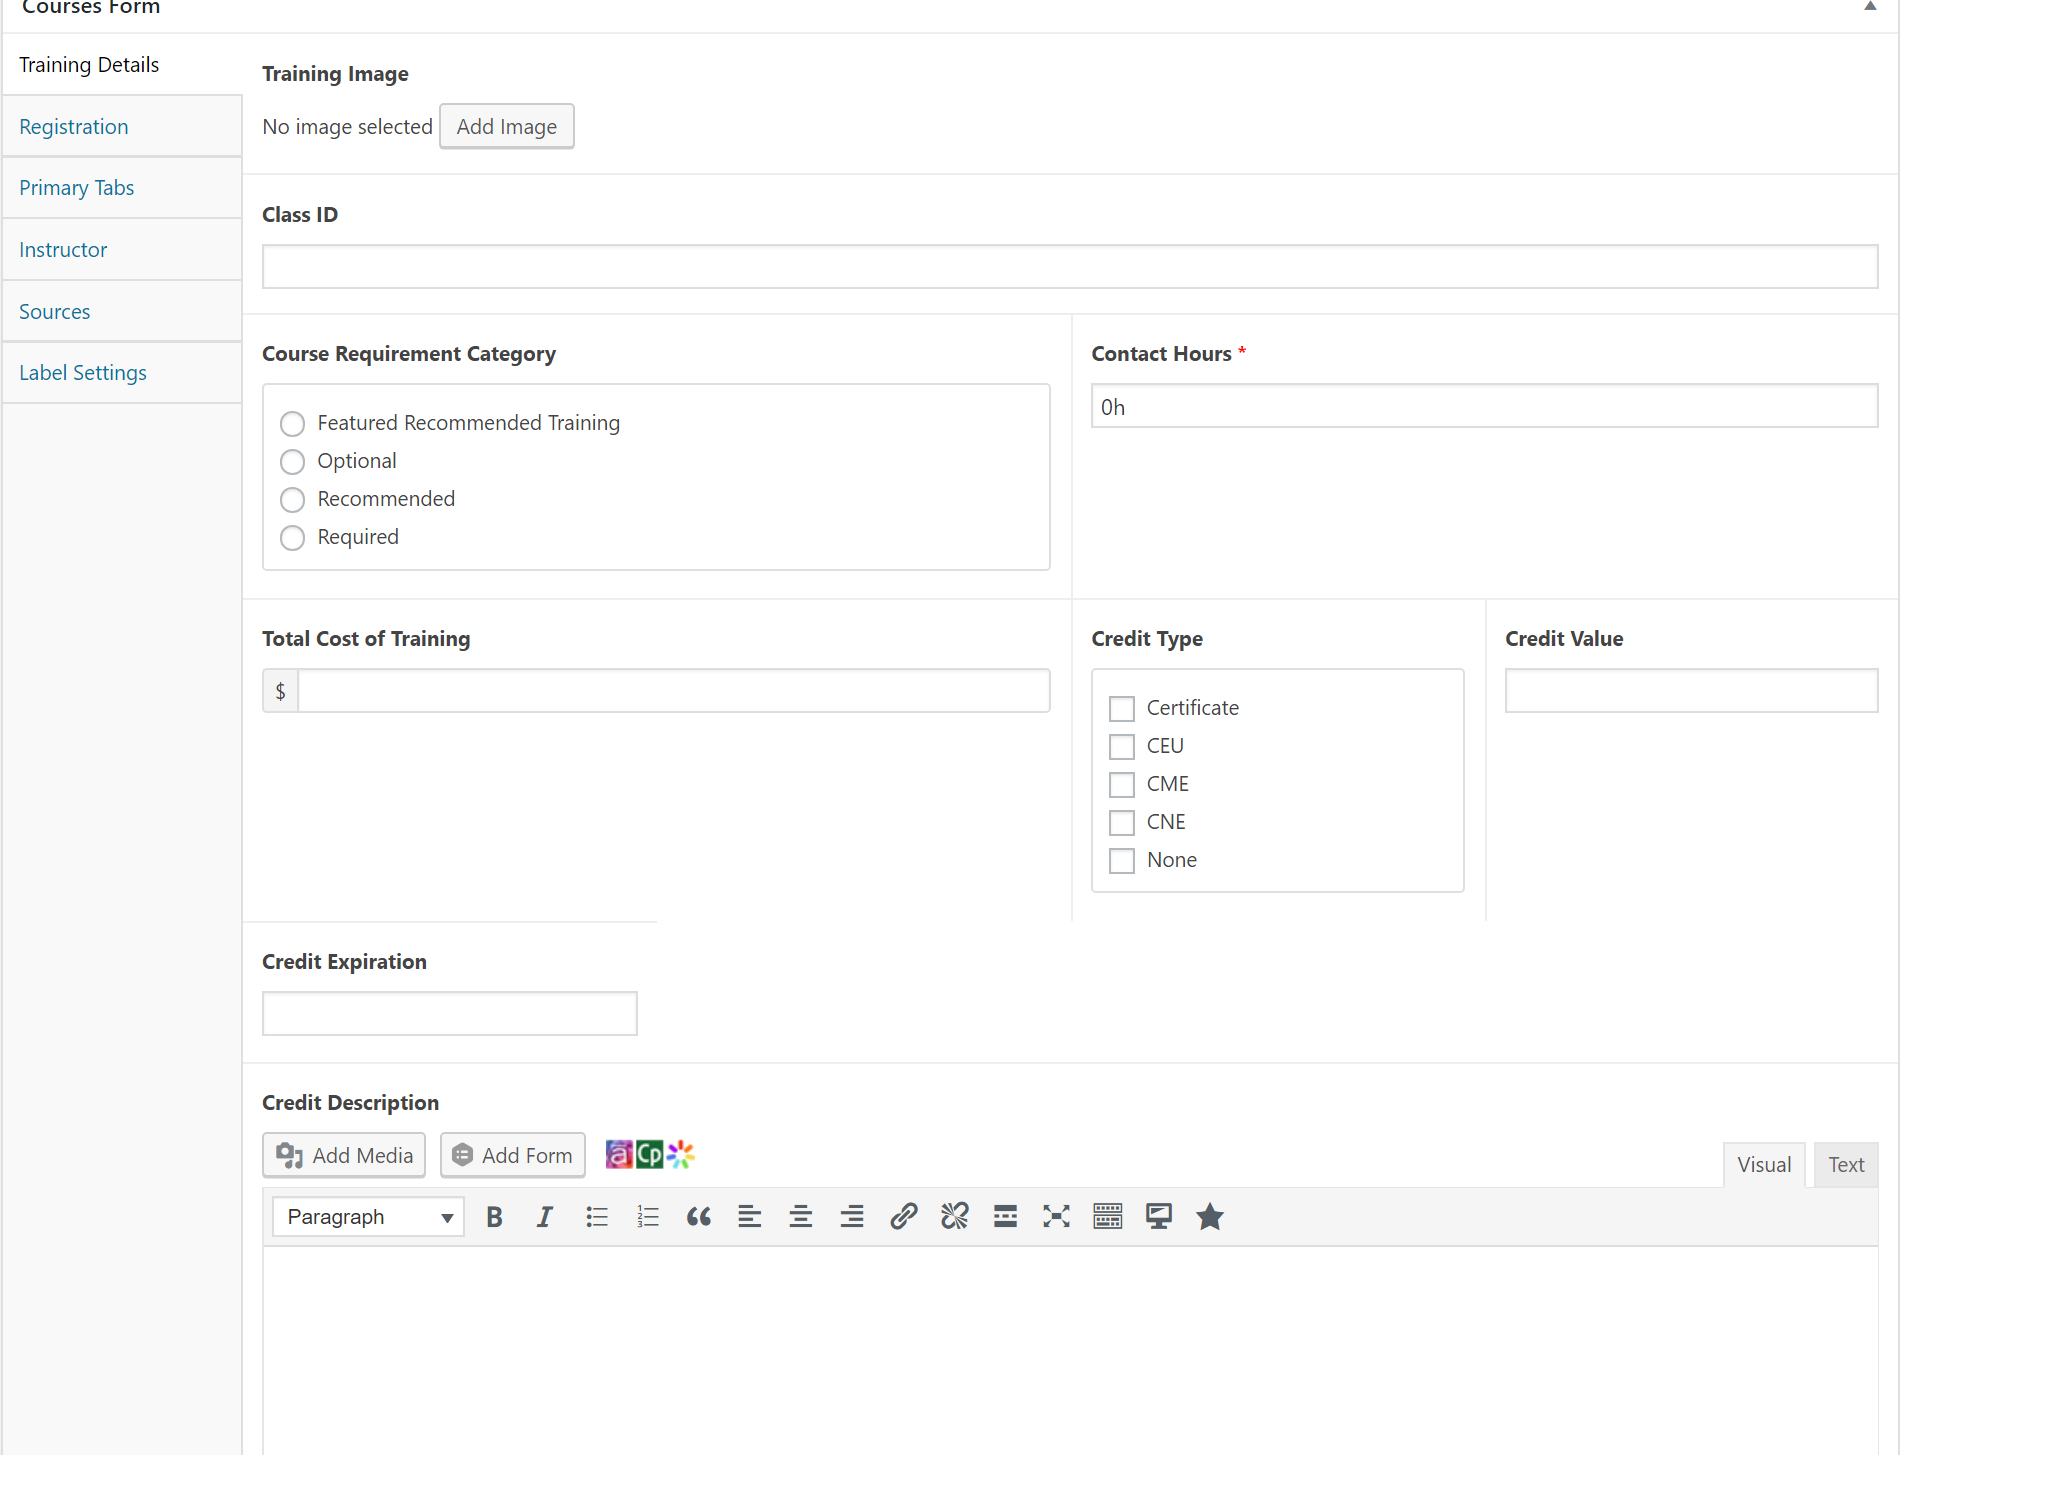
Step 4) In the Training Details tab, you will have the following important fields:
- Add a Training Image that will represent the training on the front-end (click Add Image -> Upload Files -> Select png/jpeg Files and then from Media Library, click your image and press blue Select button bottom right)
- Class ID – entering an ID here (it can be anything) will associate it with the course; this is a field you can filter/export data by in the databases. You will likely not frequently use this field.
- Course Requirement Category – you may choose to select a requirement option; users may be able to search trainings by requirement on the front-end
- Contact Hours – list the duration of the training (very important for busy employees to have this information)
- Total Cost of Training – for workforce/internal reference, you may wish to list the cost associated with conducting the training (DSRIP spend); no front-end users can see this information. You will not frequently use this field.
- Credit Type – list the type of credit the training offers; front-end employers can see this
- Credit Value – if applicable, list the credit value
- Credit Description – if applicable, you may wish to describe the credit to front-end employees interested in taking the training
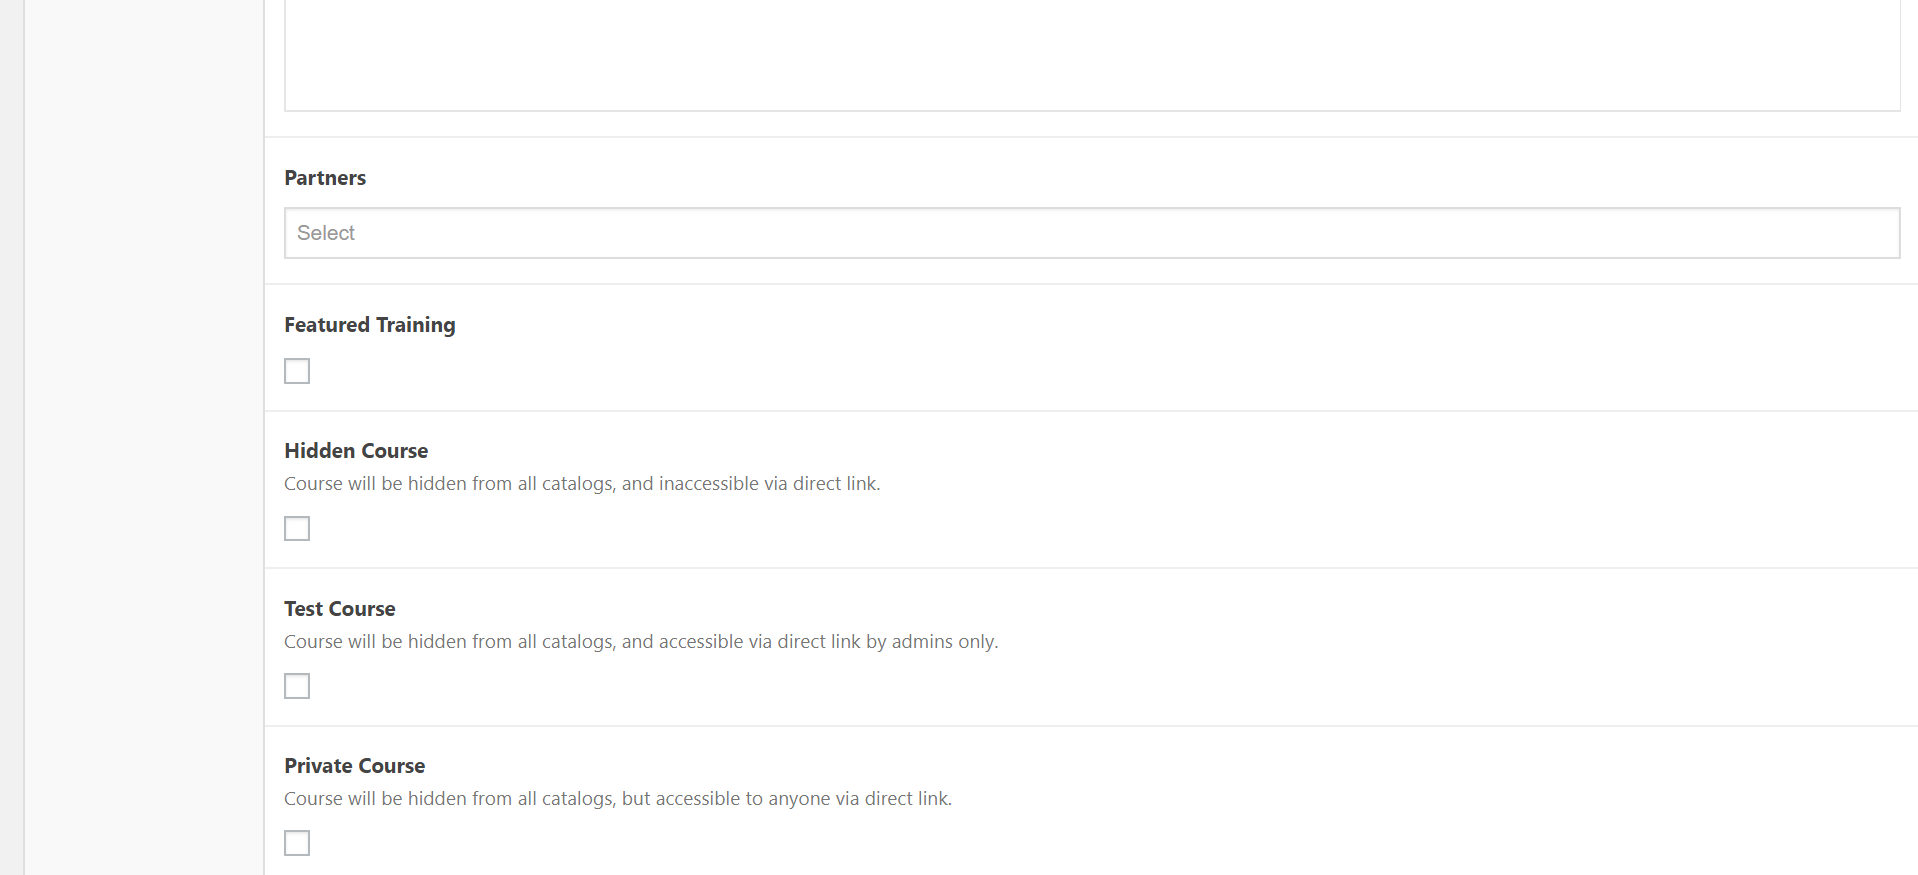
- Partners – you will not use this field/it is being hidden soon.
- Visibility options – four options for restricting the visibility of this course shell:
- Featured Training: displays the training on the homepage Featured Trainings section
- Hidden Course: course is hidden from front-end, but accessible via a direct link; data is not included in backend databases
- Test Course: course is hidden from front-end and accessible only to admins with a direct link; data is not included in backend databases
- Private Course: course is hidden from front-end but accessible to anyone with a direct link; data is included in backend databases (use this option if you are preparing a course shell but not ready to make it visible for employees to register for; this field is used frequently)
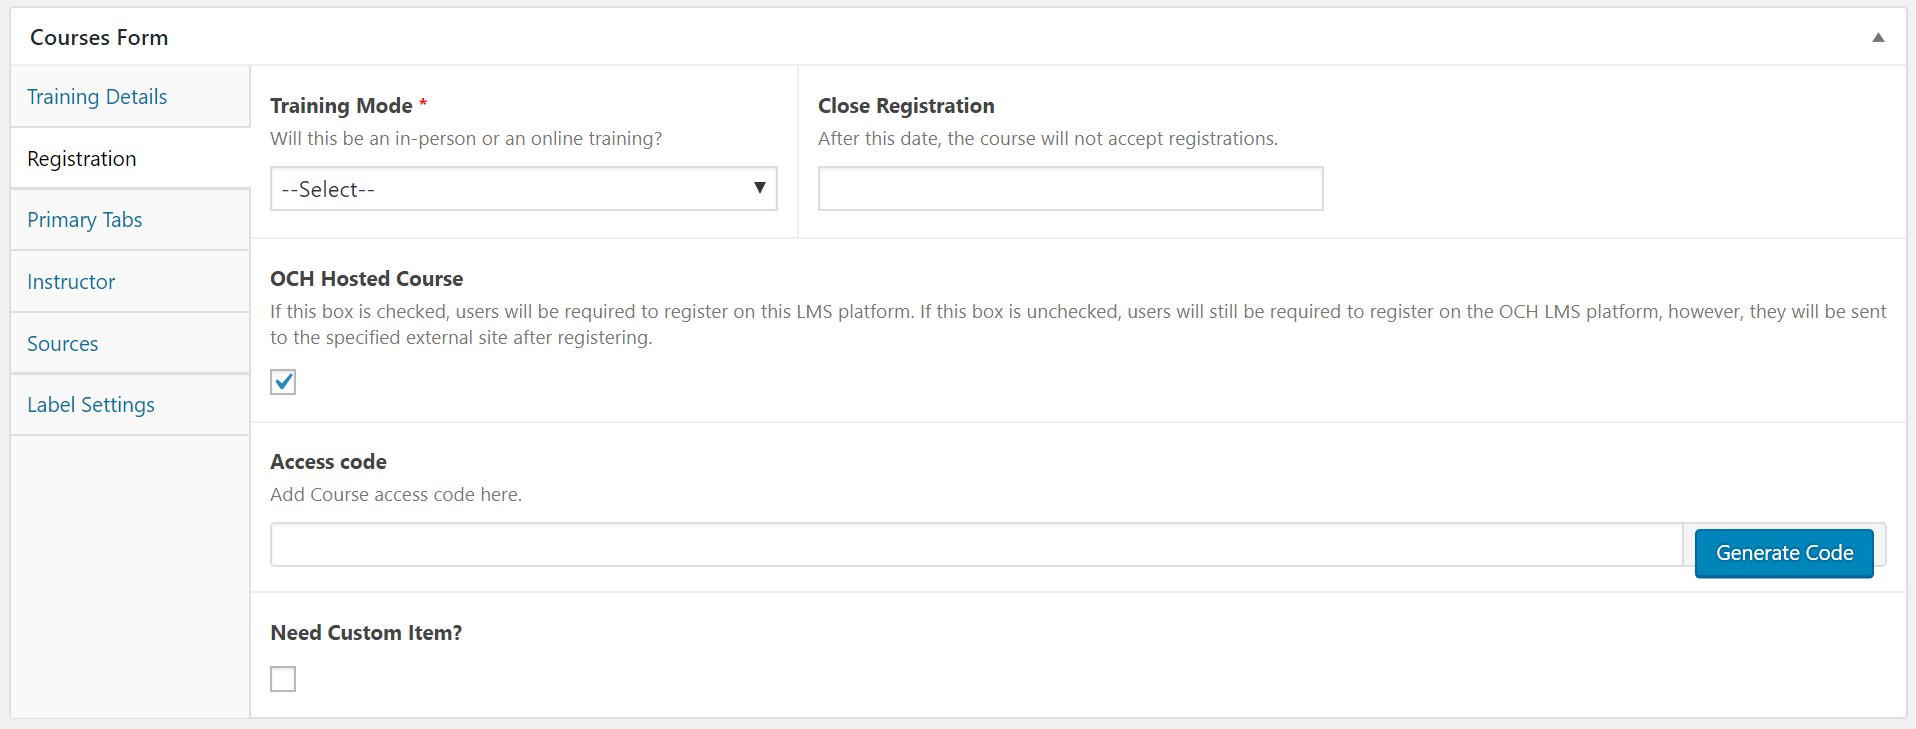
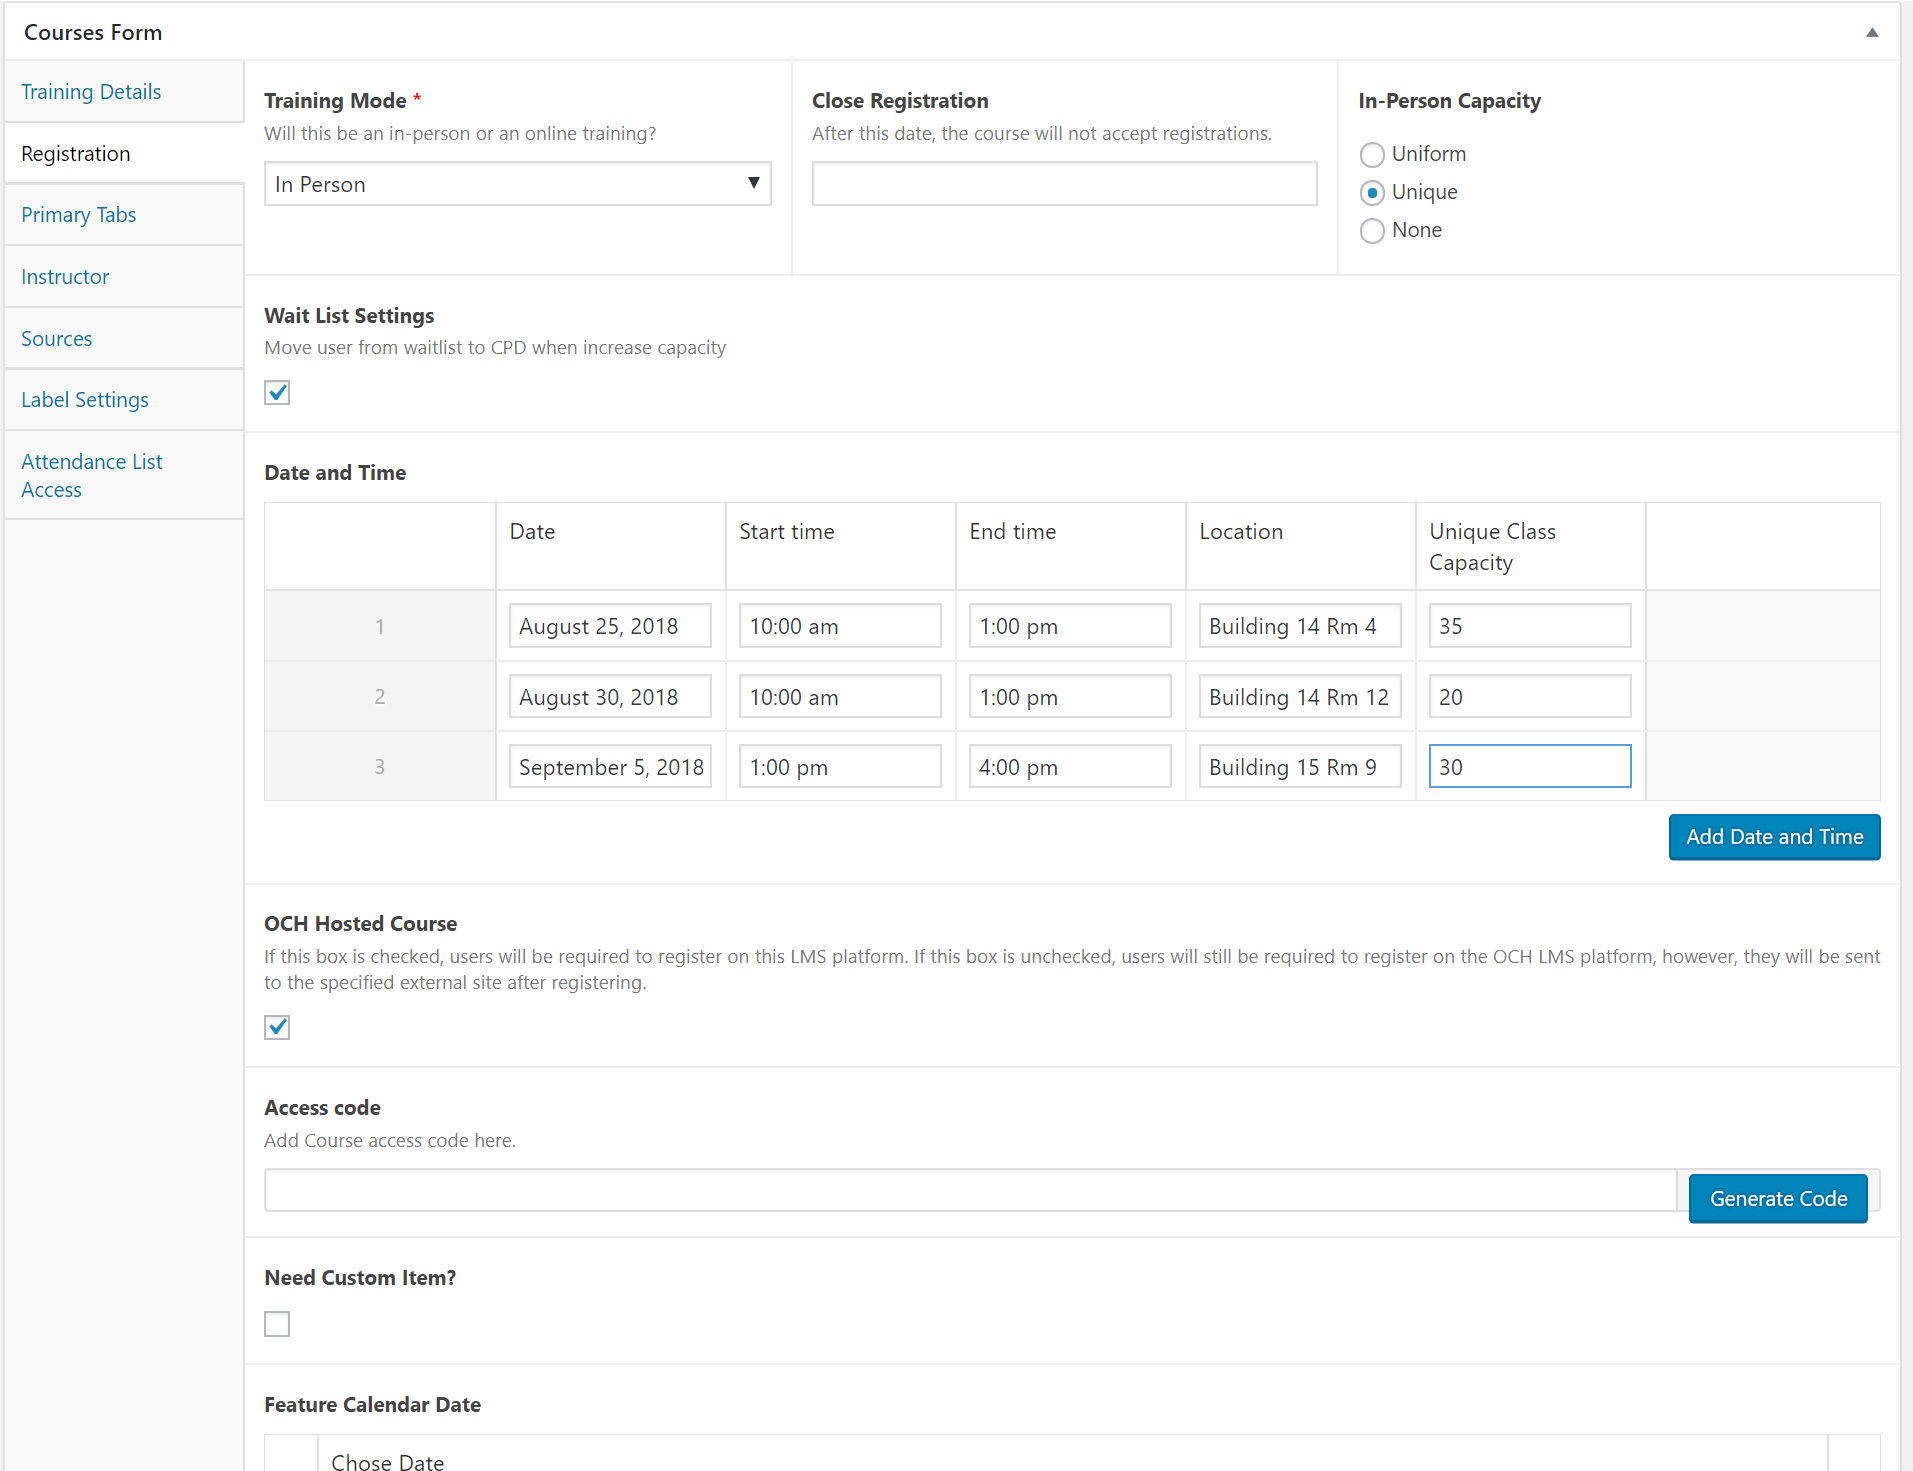
Step 5) In the Registration tab, you will have the following important fields:
- Training Mode* – set the course to online, in-person, or webinar (it will be listed as such on the front-end for employees to see and will determine the way that the OCH LMS system “sets up” the course). See below for more details on this field.
- Close Registration – if access to the training ends on a certain time (i.e. end of the year), you can set a date at which time registration will close (the registration button will say “Registration Closed”)
- OCH Hosted Course checkbox – by default, this is checked on. Only un-check this field if you need to bring employees to an external website to collect registration (i.e. the training is being hosted on an external website); if un-checked, you will be asked to enter a link and wording that employees click to be brought to the external training website outside the OCH LMS.
- Access Code – to password protect the training to certain employees or groups, you can set an access code. Ensure employees/groups are sent this access code, as they will be asked to enter if when they try to register for the training.
- Need Custom Item? – If you need to collect any other data not already being collected on the course’s registration form, you can add up to 3 unique custom fields.
- Example: you have an in-person training that is serving food and you need to scan for any food allergies among the attendees. You would do the following:
- Check Need Custom Item?
- Click Add Row
- Enter the question, as you need to appear, in the Custom Label column (i.e. “Do you have any of the following food allergens?”)
- Enter each answer option, as you need them to appear, in Custom Choice (separated by commas) (i.e. “Nuts, Dairy, None”)
- Registrants will be presented with this question when they register and will have to select either Nuts, Dairy, or None.
- In the backend databases (Course Participant Database), ensure ‘Custom Item’ fields are selected to be included in the table and you will be able to see the submitted responses of each of the registrants, which you can also export.
* Key Differences between Online and In-Person Trainings setup in the Registrations Tab
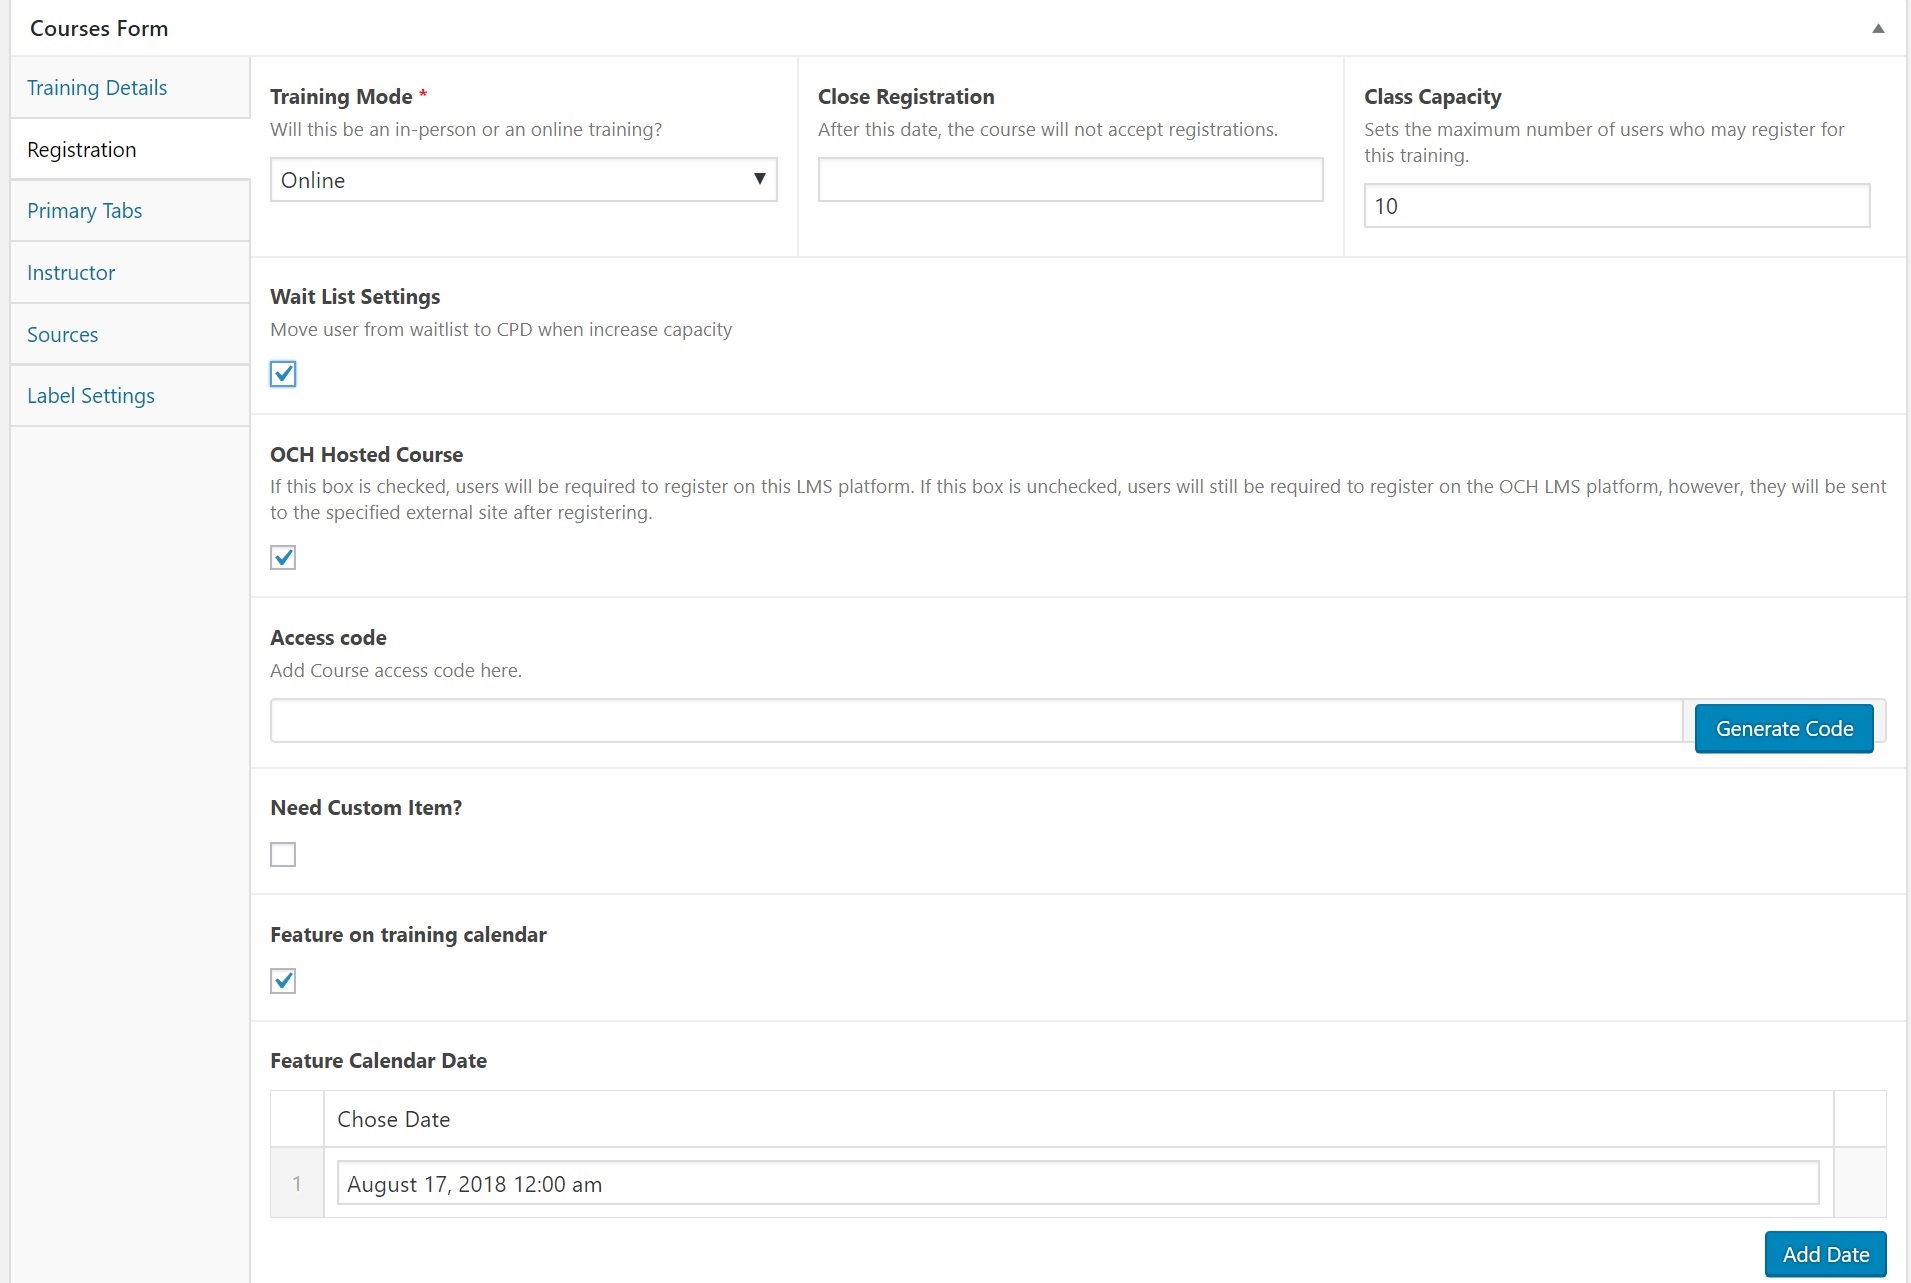
When Training Mode is set to Online, the following fields appear for you to enter:
- Class Capacity – if access to online learning content is restricted to a certain number of users, you can cap the number of people who can register for this online training by entering a capacity value here. Registrants who register after the capacity is met are added to a wait list (Waitlist button at top of Add/Edit Course page where they can be removed or added to the training at any time)
- Wait List settings – when this is checked, if there are employees who are on the wait list, increasing the Class Capacity value will pull employees from the wait list into the training
- Example: Class Capacity is set to 10 and there are 10 people registered, thereby filling the class. 2 more people register and are added to the wait list. If you increase the class capacity from 10 to 11, the 11th person to register for the training (1st to be added to the wait list) will be enrolled in training and will receive an email.
- You may wish to leave this field blank to more easily restrict access and not risk
- Featured On Training Calendar – when checked, a date picker will appear allowing you to select a date to feature the online training on the training calendar that appears on the OCH LMS homepage.
When Training Mode is set to Webinar or In-Person, the following fields appear for you to enter:
- In-Person Capacity – for in-person trainings, you have 2 different capacity options; Uniform and Unique:
- Uniform: the same class capacity value applies to all date/time sessions (typically this setting is used if the session venue remains constant and capacity does not change); (if uniform capacity is set to 10 for a training with 3 sessions, each session will allow 10 people to register resulting in 30 total people registering for the training attending one session or another)
- Unique: a unique capacity value for each individual session (typically this setting is used if the session venue changes (see image below) where seats vary)
- Date and Time – this is one of the most important fields to have setup correctly when adding a course shell for an in-person training; this this where you schedule the session(s) for the training, list the locations, and list unique capacities (if applicable). Add any number of sessions for employees to register for – they will see this list on the registration form and can choose the date and time that work best for them. Once a session has met its capacity, employees will no longer see that session as an option on the registration form for the training.
- Wait List settings – when this is checked, if there are employees who are on the wait list, increasing the Class Capacity value will pull employees from the wait list into the training
- Example: Class Capacity is set to 10 and there are 10 people registered, thereby filling the class. 2 more people register and are added to the wait list. If you increase the class capacity from 10 to 11, the 11th person to register for the training (1st to be added to the wait list) will be enrolled in training and will receive an email.
- You may wish to leave this field blank to more easily restrict access and not risk
- Of importance: Separate wait lists will be formed for each session and will correspond to their respective unique capacities, where applicable
- Featured On Training Calendar – in-person trainings, by default, will show up on the training calendar on the OCH LMS homepage. Each session will appear on the corresponding day on the calendar. Because of this, you do not need to use this field if your course shell is for an in-person training and you have Dates and Times listed.
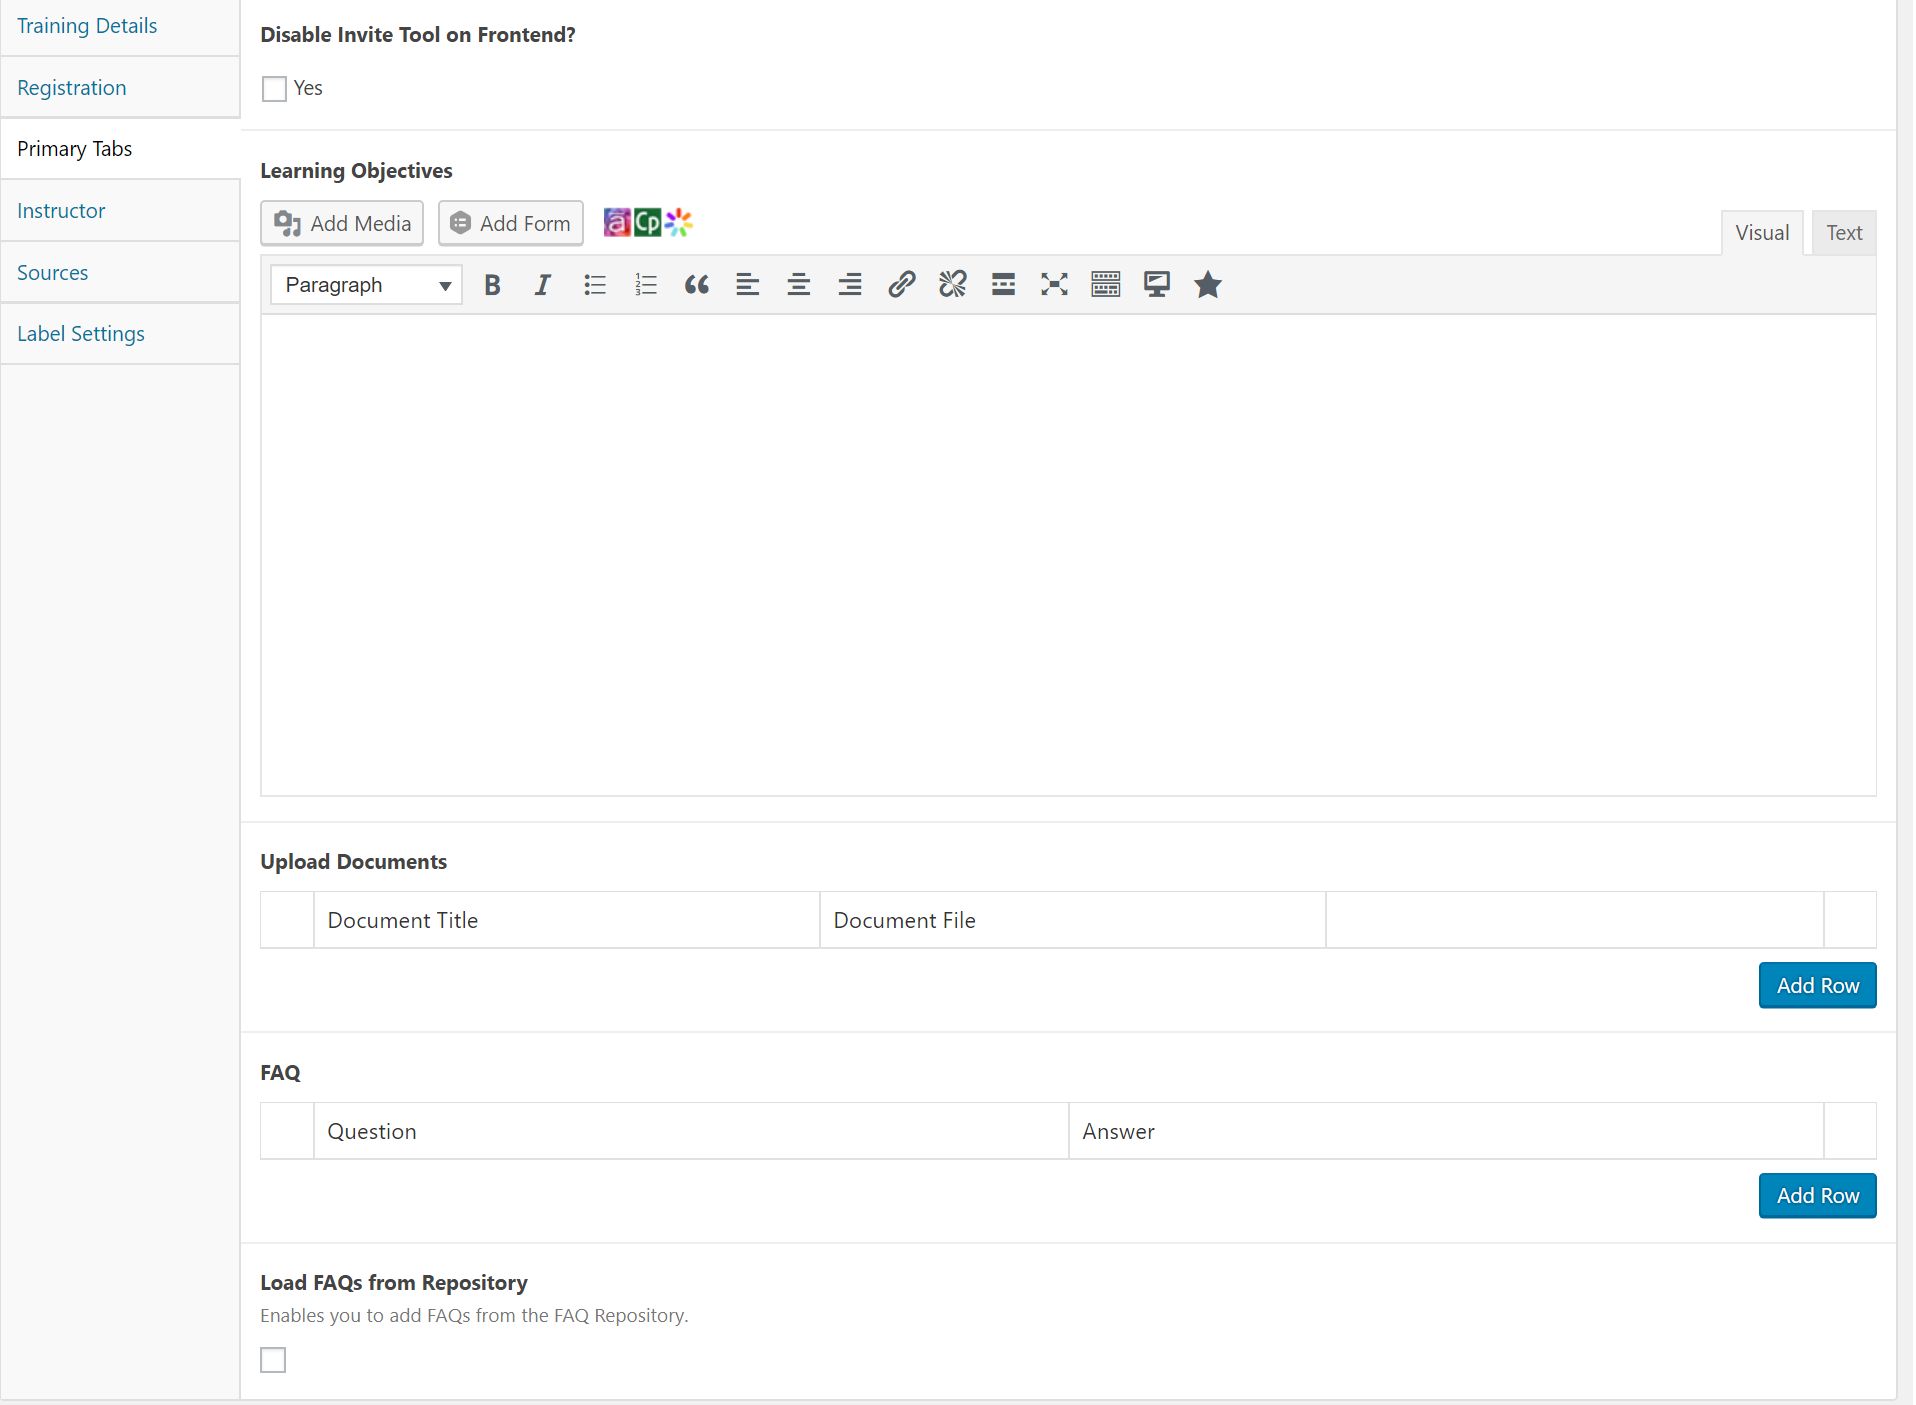
Step 6) In the Primary Tabs, you will have the following important fields which effect content and settings around the “course tabs” that display on the front-end of a course:
- Disable Invite Tool on Frontend – By default, this is checked; when unchecked, the Invite tab on the front-end of a course appears which allows users to email the course to others. You will only use this field if instructed by the OneCity Health Workforce Team under specific circumstances.
- Learning Objectives – Although not required, each course should have Learning Objectives that employees can review before/during registering for a training. Simply enter them in paragraph or bullet-point format and they will display on the front-end of course under the Objectives tab.
- Upload Documents – if you want to attach any documents to the course shell – documents that are publicly accessible to anyone even prior to registering for the training – you can upload them here. You will not frequently use this option, but may choose to attach flyers or infographs advertising the training here for further promotion of the training. You do not need to be registered for the training to download anything that displays in the Documents tab. To do this, click Add Row -> Add New -> Upload Files -> Select Microsoft word or PDF Files and then from Media Library, click your image and press blue Select button bottom right)
- FAQS – add FAQs here that will display in the FAQs tab on the front-end of the course – this is an effective way to communicate information and instructions to employees registering for an upcoming training. You may enter them manually or load from the repository by clicking the search bar and selecting as many FAQs from the repository as you need (in backend dashboard, click Info Repositories -> FAQs to see a list of stored FAQs that you can load).
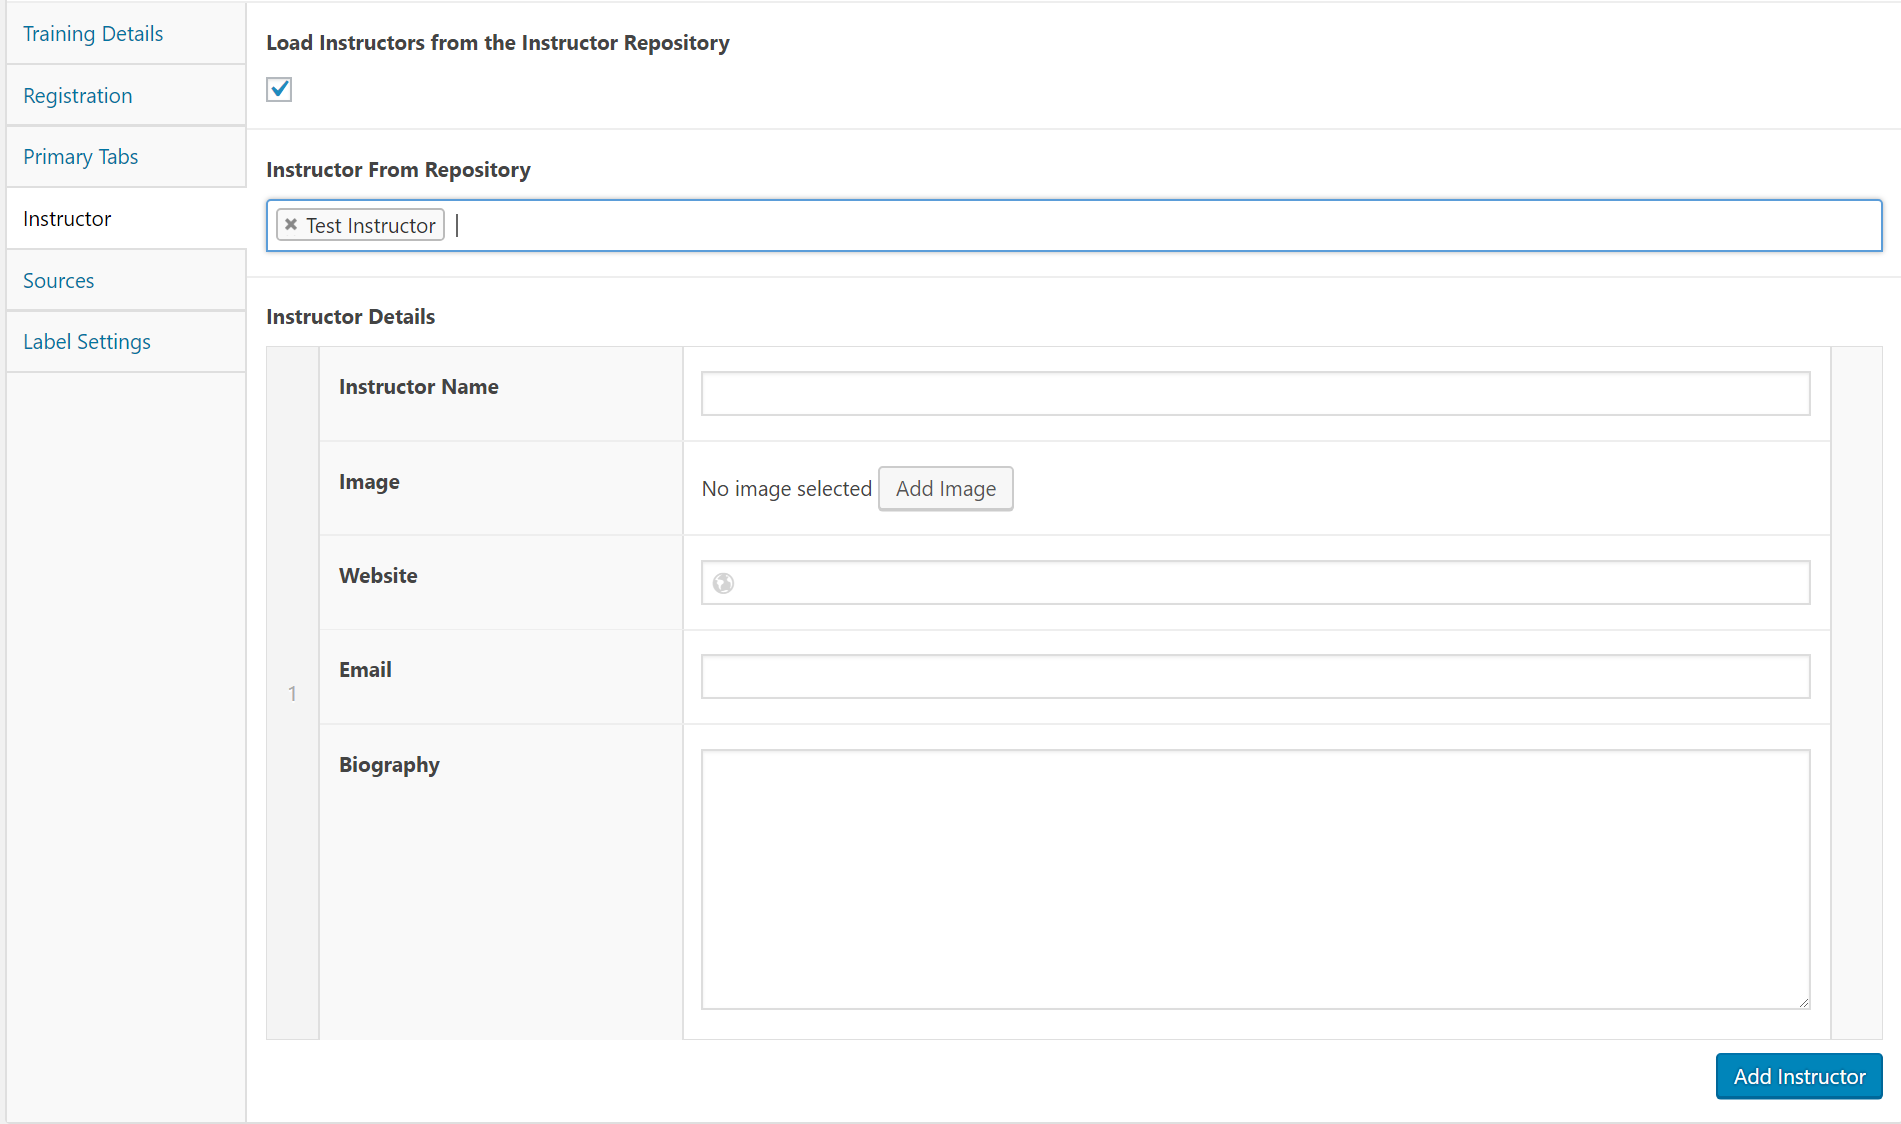
Step 7) In the Instructor tab, you can choose to list the instructor of the training. You may enter their information manually, or load from the repository (Info Repositories -> Instructors to see stored instructor information). This is optional, and anything listed here will show up on the course listing on the front-end for employees to review.
You have the option to add Name, Image (click Add Image -> Upload Files -> Select png/jpeg Files and then from Media Library, click your image and press blue Select button bottom right), an external website (to a CV, resume, or LinkedIn for example), email, and biography (description) of each instructor for employees to reference.
Step 8) In the Sources tab, you may choose to list the content provider. You can enter a name (personal, organizational, or company name), image (click Add Image -> Upload Files -> Select png/jpeg Files and then from Media Library, click your image and press blue Select button bottom right), and website.

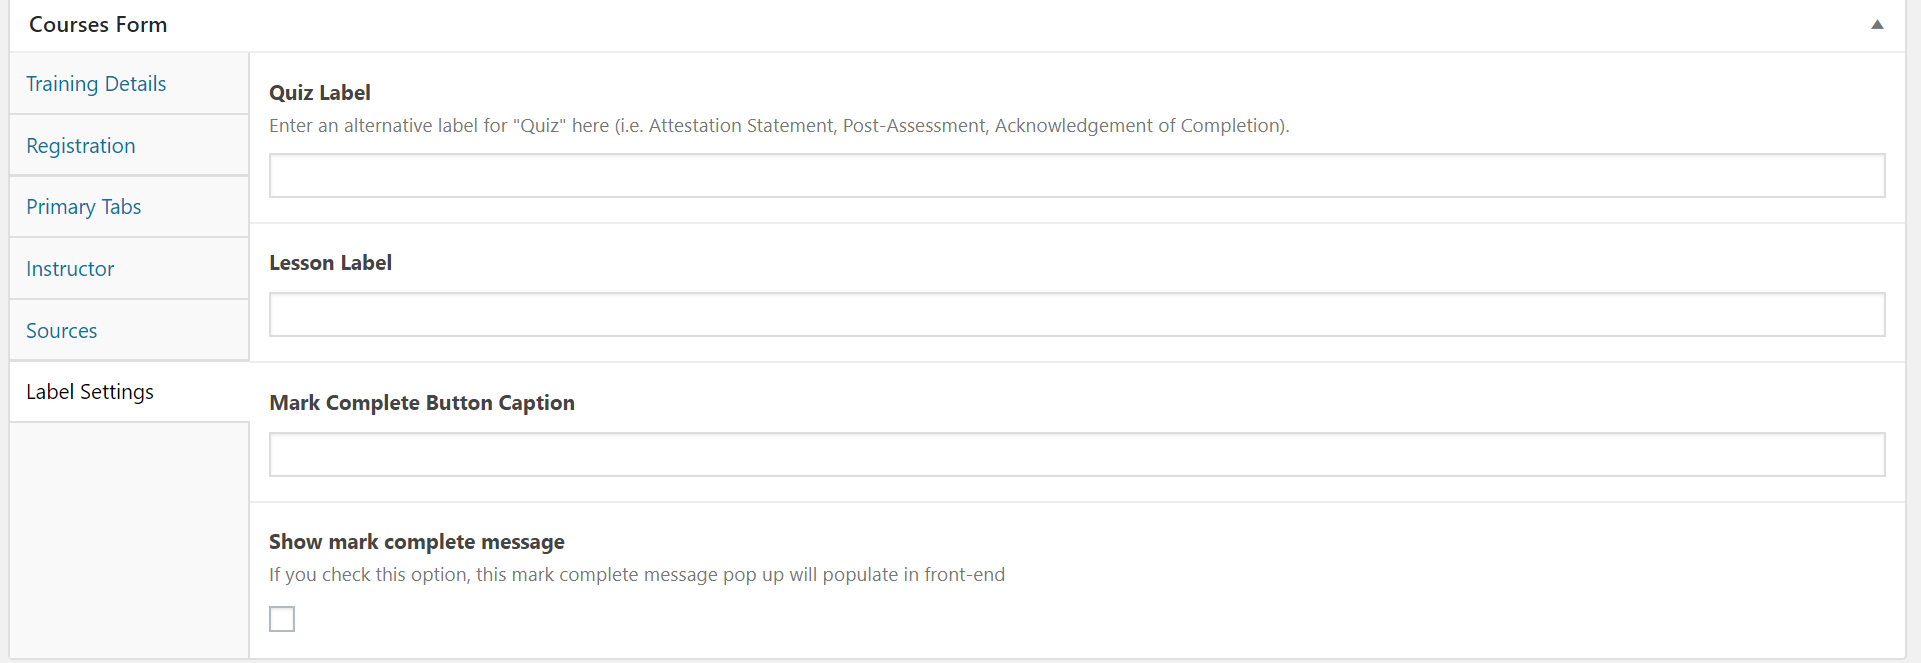
Step 9) The Label Settings tab allows you to enter an alternative wording for the following “labels” on the front-end of an Online training.
- Quiz Label – for online courses with quizzes, you can change the word of “quiz” to anything
- Example: you are using the quiz tool to create a post-training attestation or survey, and because “quiz” is not a good descriptor, you enter “attestation” or “survey” so that on the front-end in the Course Content area, employees taking the training know to expect an attestation or a survey
- Lesson Label – to better describe the lesson content for the online training, you may provide a more detailed name depending on the type of multimedia the lesson content is
- Example: you are setting up an online training that consists of an eLearning module. Because “lesson” might sound vague, you enter “Module” so that on the front-end in the Course Content area, employees taking the training know to expect a module
- Mark Complete Button Caption – some online trainings have a mandatory step where users are asked to “Mark Complete” a lesson or a topic. Entering alternate text in this field will change the wording to whatever your needs are (some videos or modules have the mark complete step automatically programmed in by HWapps)
- Example: You want to improve the user experience for an online training consisting of a module and a mandatory attestation statement (quiz). You enter alternate text in this field to change the “Mark Complete” button to read “Proceed to Attestation”
- Show Mark Complete message – because some employees sometimes do not see, or simply don’t understand, the necessity of pressing the mark complete button, checking this option activates a disclaimer popup that displays whenever an employee begins a lesson where “Mark complete” is necessary informing them that they need to press “Mark Complete”
Step 10) Email Template Variables tool (optional/not used frequently):
Whenever an employee registers for a training, they receive an automated email confirming their registration. Using this tool allows you to enter in a custom email specifically for this training. Employees who register for this training will receive your custom email, if one is present. When left blank, they receive the default automated confirmation.
- Subject: enter the email subject line
- Template: a rich text editor body that allows you to draft and style an email body. Referring to the description of the tool, you will notice “dynamic variables”. Dynamic variables allow you to add “code” into your email body template that will automatically pull custom pieces of information. For example:
- Entering %%firstname into the email body template will automatically display the recipient employees’ first name (associated with their account). The same logic applies for %%lastname, and %%coursename which automatically displays the name of the training.
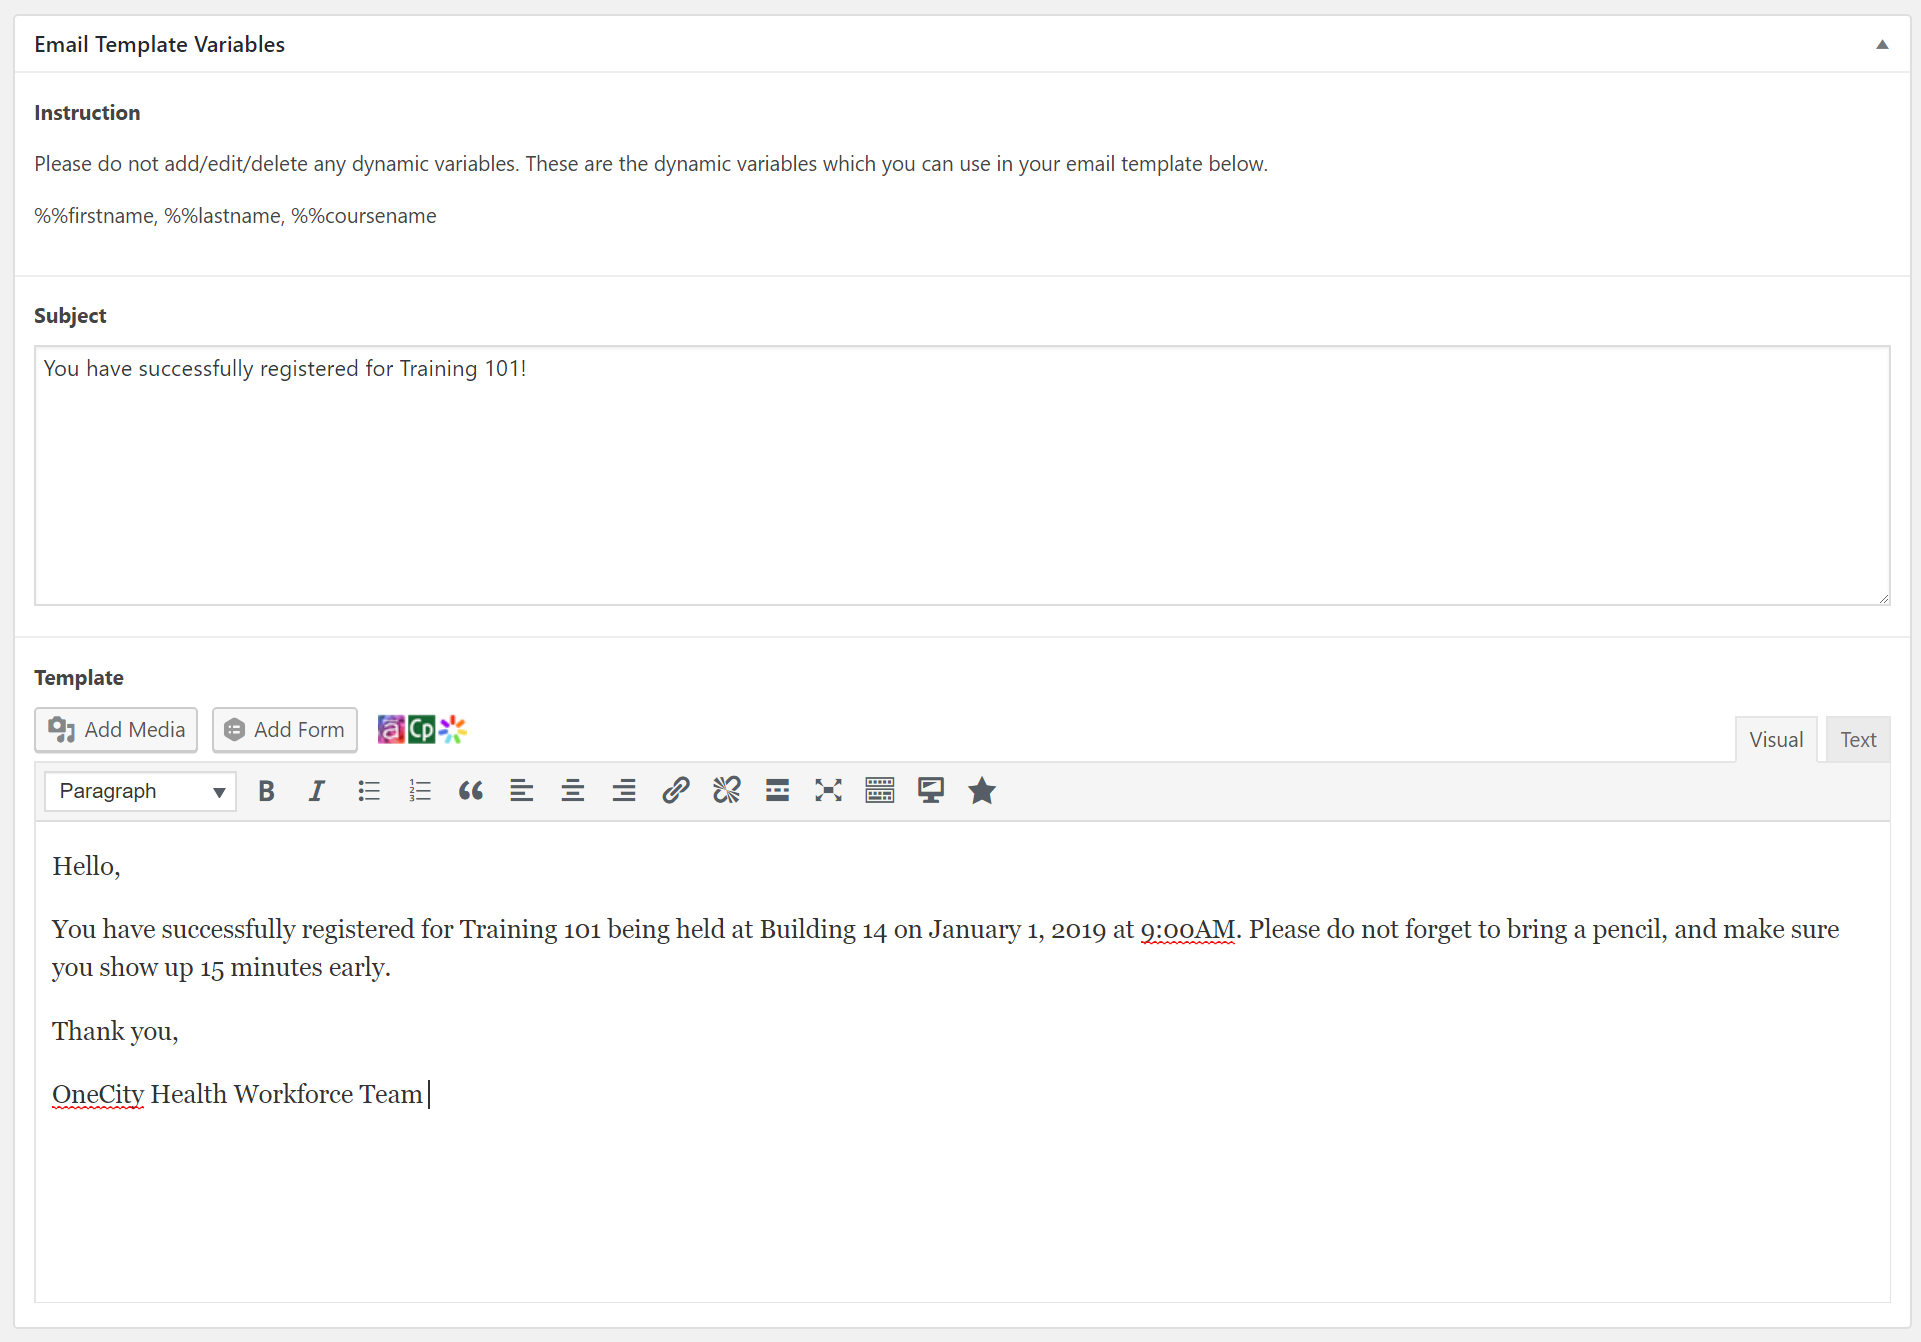
Step 11) Course Section (bottom):
Here you will find a few miscellaneous settings that pertain to general course access and settings. Most of these options will never be used and are not relevent at the present time to OneCity Health’s use and need of the OCH LMS. Descriptions are provided for each by clicking on the ? icon for each.
- Associated Certificates: to assign the training to the OCH Certificate, select it from the dropdown for this field.

Assigning the Course to the proper Catalog and Audience:
Step 12) Assign the course to one or many Categories (also referred to as Catalogs or Initiatives). You can find this under the Course Categories section on the right-hand side. In doing so, the training will show up on the respective training initiative page(s).
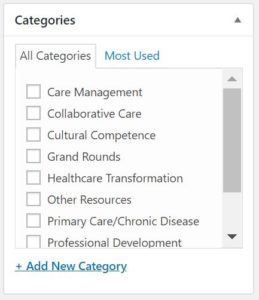
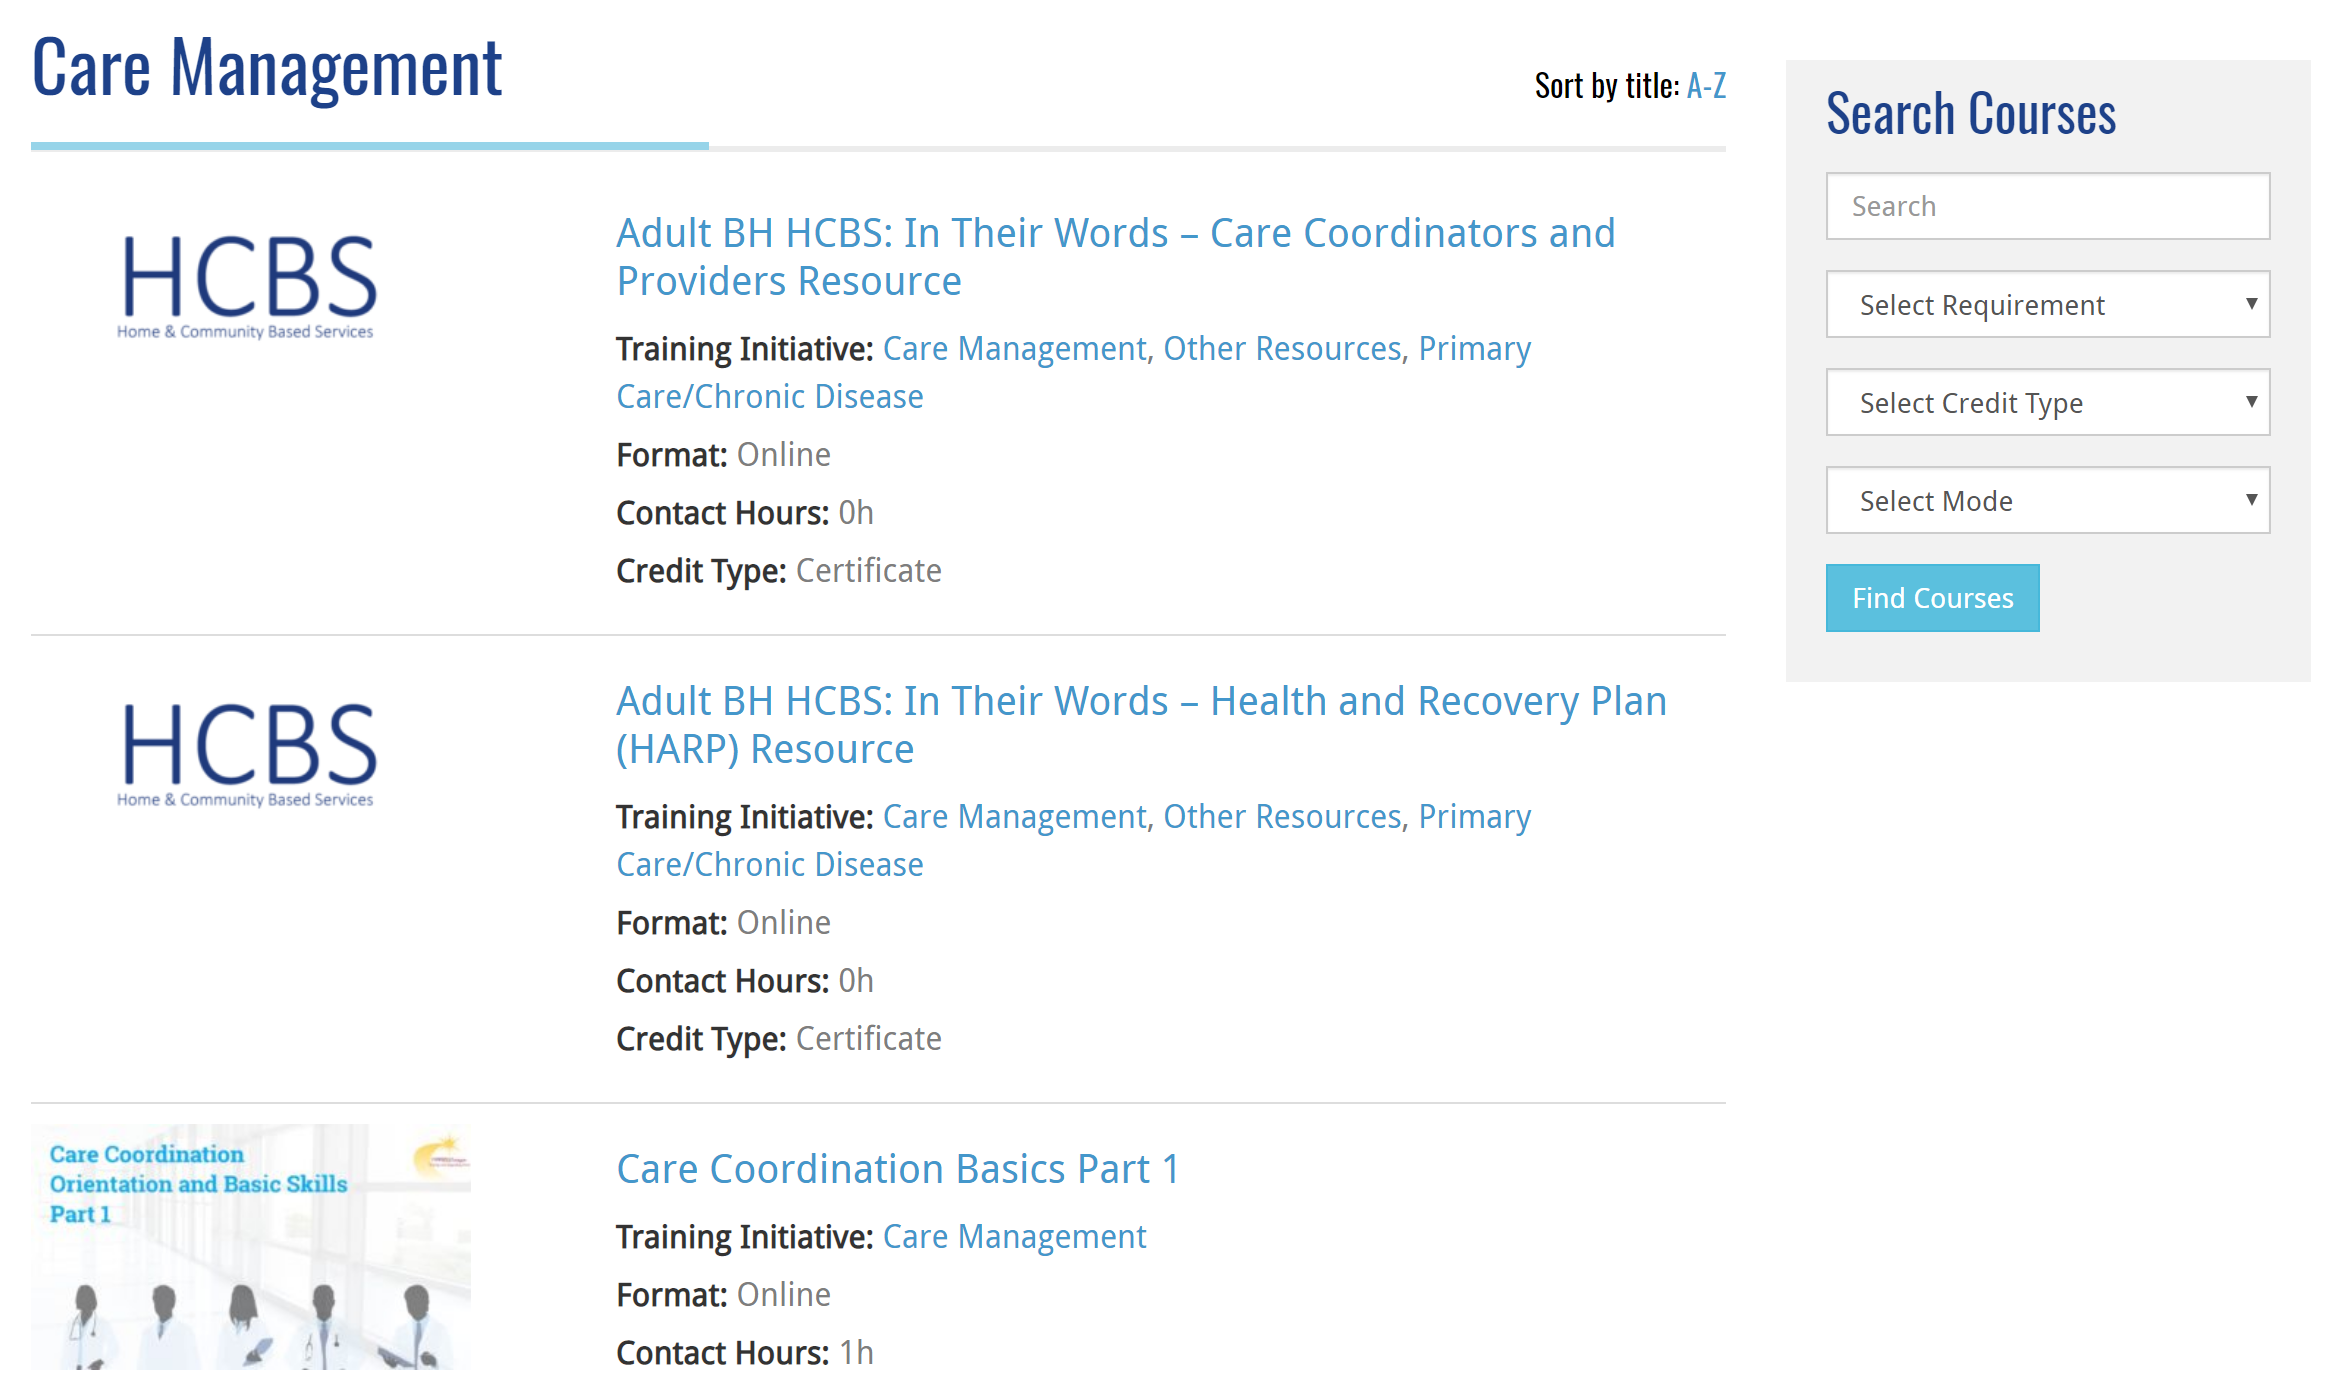
Example: you need to add a new training to the Care Management catalog and need it displayed on the initiative page: http://statenislandpps.org/care-management/
- Select Care Management from the Categories list
- After you have published or updated your course shell, your training will appear in the training listing area at the bottom of the Care Management initiative page (pictured below).
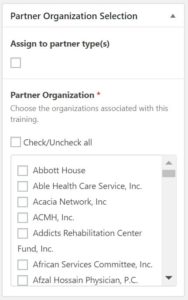
Step 13) Under the Partner Organization section, assign a Partner Type to the training and/or assign specific organizations to the training. Most of the time, all trainings will be assigned to all Partner Organizations within OCH’s network so selecting “Check all” is the most frequent setting.
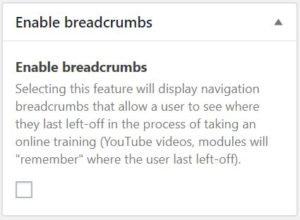
Step 11) Enable Breadcrumbs which will display navigation breadcrumbs that allow a user to see where they last left-off in the process of taking an online training (recommended for online trainings).
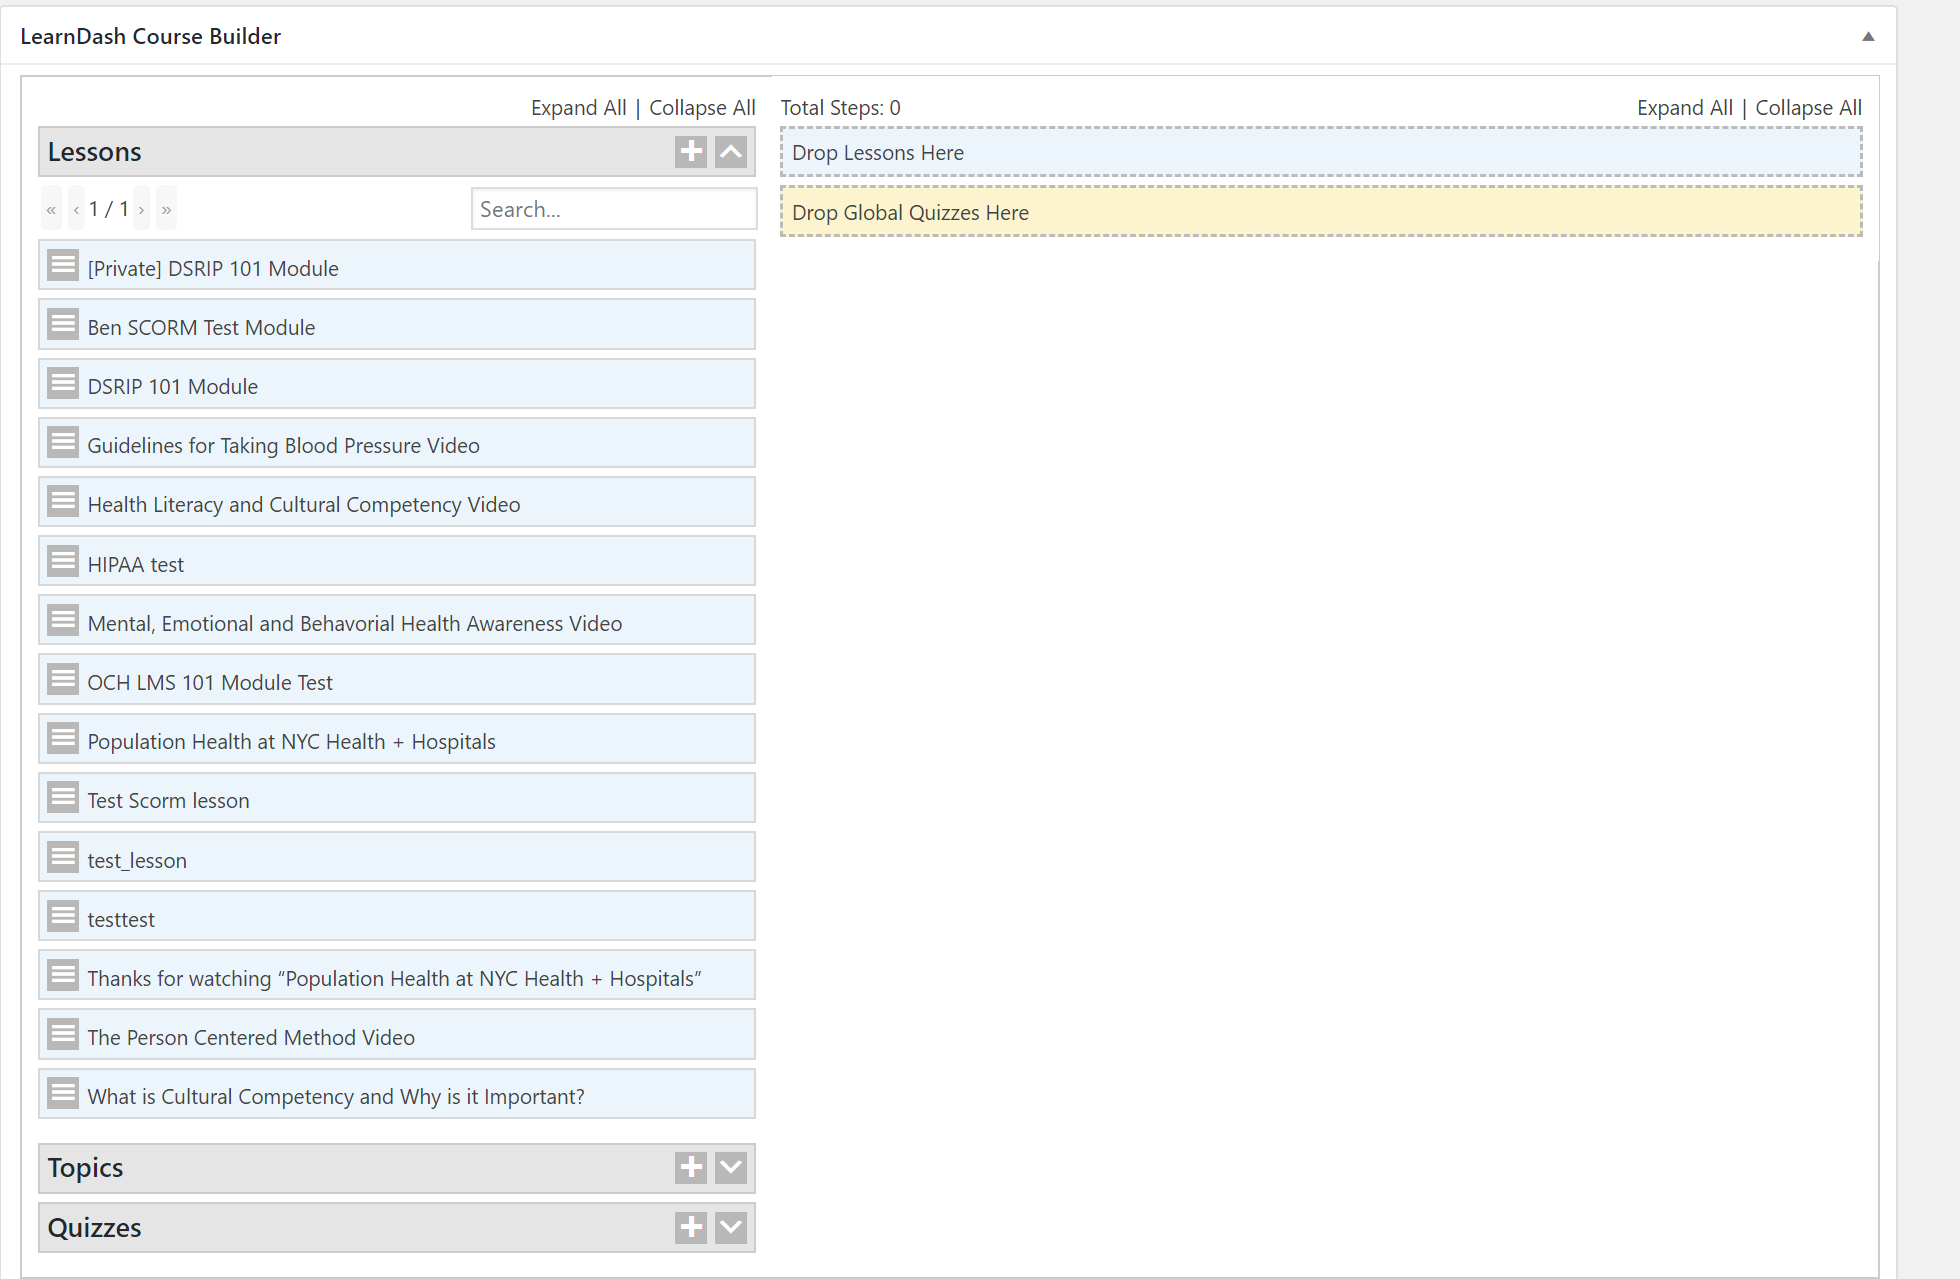
Step 12) In the Learndash Course Builder, assign any lessons, topics, or quizzes to the training by dragging and dropping the boxes on the left to the area on the right. Lessons, topics, and quizzes will need to already have been created.
Once you have finished, scroll to the top and press Publish. You may update any of this information at any time.


